

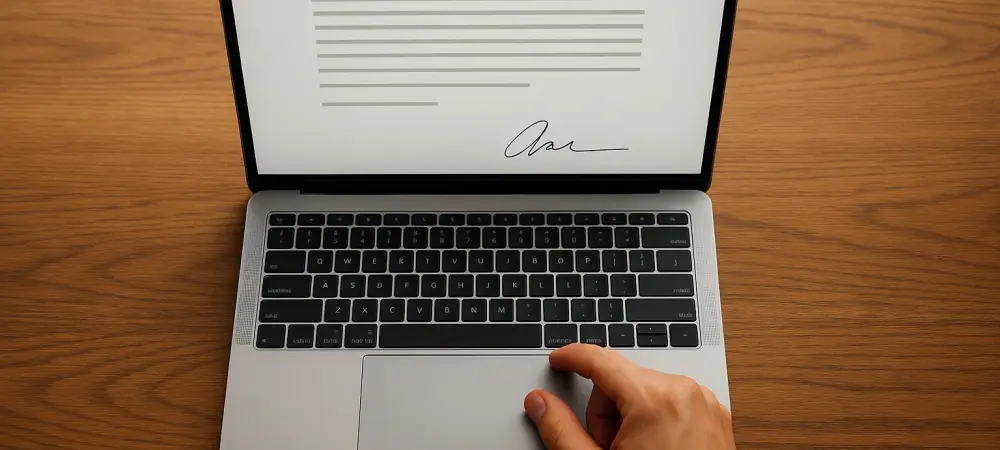
Mac owners can use their trackpads or even an iPhone screen as a high-precision input device for generating clean signatures on electronic forms. In an era where digital agility is paramount, the reliance on traditional paper-based workflows has become a relic of the past, yet many professionals still struggle with the perceived complexities of electronic document authorization. While various specialized subscription services offer a range of bells and whistles, the most efficient and secure method for signing a Portable Document Format file resides within the heart of the macOS ecosystem. The Preview application, often viewed merely as a basic utility for viewing photos or reading text, contains a sophisticated engine designed to handle annotation and authentication with surprising ease. This built-in functionality eliminates the security risks associated with uploading private contracts to third-party servers, ensuring that your biometric-style signature data remains strictly within your local control. Mastering this tool not only boosts personal productivity but also maintains a high standard of professional presentation for all outgoing correspondence.
1. Initial Steps: Opening the Document and Accessing Markup
To initiate the signing process, navigate to the specific document stored within the Finder or on the desktop environment. Rather than double-clicking to launch the full Preview interface, a more efficient technique involves utilizing the Quick Look feature. By clicking the file once to highlight it and then pressing the spacebar, a large, clear preview of the document immediately appears on the screen. This method is particularly advantageous for high-volume environments where several documents must be verified before committing to an official signature. The Quick Look window provides a streamlined interface that minimizes distraction while offering direct access to essential editing tools without the overhead of heavy software processing. It represents a fundamental shift in how modern operating systems handle file interactions, prioritizing speed and accessibility. This initial step sets the stage for a rapid workflow, allowing for the swift identification of signature fields without the clutter of multiple application windows.
Once the Quick Look window is active, the next phase involves revealing the hidden annotation capabilities of the system. Look toward the upper-right corner of the preview window to find a small icon that resembles a pen inside a circle. Clicking this icon expands the Markup toolbar, a specialized ribbon of tools that provides options for highlighting, sketching, adding text, and inserting shapes. This toolbar is the command center for all modifications within the Preview engine, and it is designed to be intuitive yet powerful. Within this set of options, a specific icon that looks like a small, handwritten line represents the Signature tool. This is the gateway to creating a reusable digital autograph that can be applied to any document. The transition from viewing a document to editing it is seamless, requiring no additional loading screens. This integration highlights the strength of the system, where complex tasks are distilled into simple, recognizable visual cues that allow the user to maintain focus on the document at hand.
2. Digital Capture: Creating and Finalizing the Signature
Creating the actual signature involves choosing between three distinct input methods, each tailored to different hardware availability and user preference. The most common method for laptop users is the Trackpad option, which turns the touch surface into a digital canvas where a finger can be used to draw the signature directly. For those who require even greater precision, the iPhone or iPad option leverages a mobile device’s touchscreen as an input peripheral. When this mode is selected, a notification appears on the connected mobile device, turning its screen into a dedicated signature pad. This Continuity-based approach is often preferred by those who find it easier to sign with a stylus or on a smaller, more tactile surface. The real-time synchronization between the mobile screen and the Mac display ensures that every curve and stroke is captured with high fidelity. This technological synergy exemplifies how hardware and software work in tandem to provide a sophisticated solution for document authorization.
For users who prefer the traditional feel of ink on paper, the Camera method offers an ingenious alternative that utilizes the built-in webcam. By signing a white piece of paper with a dark pen and holding it up to the camera, the software can scan the physical signature and convert it into a transparent digital asset. The algorithm automatically filters out the background, leaving only the ink behind, which is useful for individuals with complex signatures that are difficult to replicate on a trackpad. After the signature has been captured, clicking the Done button serves as the final confirmation to save the new entry into the local signature library. It is important to review the signature for clarity before hitting this button, as any jitter or blur in the initial capture will be preserved. This stage moves the signature from a temporary input into a permanent asset stored securely on the machine, organizing entries in a clean list for future use. This removes the need to recreate the signature for every new document that arrives.
3. Document Completion: Positioning and Managing Digital Marks
With the signature now saved and accessible, applying it to the document is a simple matter of selection and positioning. Clicking the desired signature from the dropdown menu causes it to appear instantly in the center of the current page. From this point, the signature acts as an adjustable overlay that can be moved by clicking and dragging it to the appropriate line or box. This manual placement is far more flexible than fixed-field systems, allowing the user to account for oddly formatted documents or tight spaces. By clicking on the blue anchor points that appear around the signature’s bounding box, the user can scale the mark up or down without losing clarity. Because the system treats the signature as a vector-like graphic, it maintains its sharpness regardless of size. This scalability is a significant advantage over scanned images, which often become pixelated. The adjustment process is fluid and responsive, providing immediate visual feedback as the user fine-tunes the final placement.
The final stage of the workflow involves committing the changes to the file and ensuring that the document is saved correctly. After the signature has been placed and resized, saving the PDF embeds the markup permanently into the document layer. This can be done by navigating to the File menu and selecting the Save option. Once saved, the signature becomes a part of the document’s visual data, transforming a blank form into an officially authorized digital asset. For future maintenance, the system also allowed for the simple removal of old entries. Navigating back to the signature menu and selecting the small X next to a specific entry effectively purged it from the local storage. This practice ensured that only the most current and accurate marks remained available for use. By adopting these local tools, users moved toward a more self-reliant and secure digital existence, setting a standard for how modern professionals interacted with the world of electronic forms. This workflow successfully replaced the need for physical printing and manual scanning.