
In an era where digital data grows exponentially, secure and efficient archiving is crucial. A Network Attached Storage (NAS) system is a robust solution for professionals who require reliable and scalable data storage. This guide provides a straightforward approach to setting up your NAS system, ensuring that your archive is well-organized and protected.
Purchase a NAS Device
The foundational step in establishing a personal archive begins with the choice of a NAS device. This unit, which acts as a centralized storage, varies in price and functionality depending on the number of available drive bays. The greater the number of bays, the more efficient the device at handling storage needs. When considering a NAS, one must take into account both current and future storage requirements. An adequately sized NAS will allow for expansion and ensure long-term usability, rather than needing to upgrade shortly due to insufficient capacity.
Obtain Hard Drives
After securing your NAS device, the next step is to purchase hard drives that will populate its bays. Opt for enterprise-grade hard drives known for their durability and performance. These drives are designed to accommodate the rigorous demands of continuous operation within a NAS setup. Consistency among the drives—in terms of capacity—is essential; differing capacities can limit the usable space in a RAID configuration. This uniformity enables you to maximize the data redundancy and protection features of your NAS, safeguarding your archives effectively.
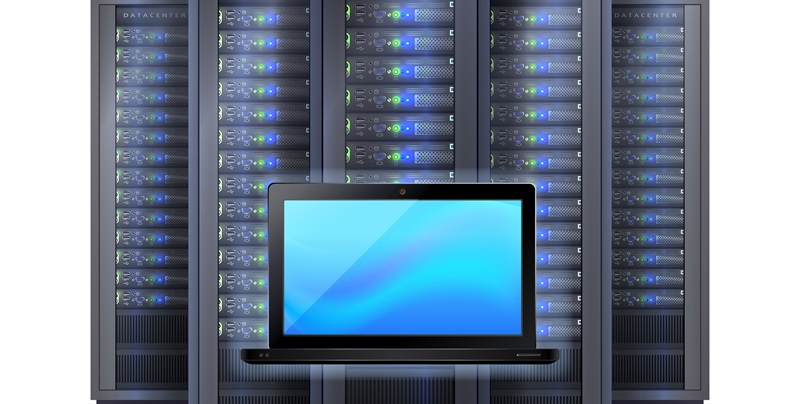
Hardware Setup
Once you have the NAS and the hard drives, it is time to set up the hardware. Choose a location for your NAS that is both accessible and non-intrusive, as the noise from the cooling fans might become a nuisance if the NAS is too close to your workspace. Proper ventilation is also critical to prevent overheating. Position the NAS near a power outlet and a network router, then meticulously install the hard drives, numbering each one for ease of identification and maintenance. This will save time and potential confusion should you need to address hardware issues later on.
Network Discovery
To integrate the NAS into your network, simply navigate to “find.synology.com” through a web browser. The setup wizard will guide you in making the initial connection, requiring you to accept terms and conditions that govern your usage. Once you agree to the end-user agreement, your NAS will become a discoverable entity on your network, marking the starting point for the configuration process that tailors the NAS to your specific needs.
Customize the NAS
Creating a personal touch to your NAS includes naming the device and creating an administrator account with a strong, unique password. A robust password strategy is imperative for network security. It is advised to use a combination of letters, numbers, and special characters for your password; this measure enhances protection against unauthorized access. Store this password in a secure location, as it is the key to administering your NAS and safeguarding your data.
Enable Remote Access (Optional)
Among the features of your NAS, you might consider enabling Quick Connect—a service that facilitates remote access to your storage. While convenient, this feature could expose your data to additional risks. If you often work outside the office and require access to your files, Quick Connect can be invaluable. However, if local access meets your needs, it may be safer to maintain your NAS as an on-premise solution. Evaluate your remote access needs carefully, bearing in mind the potential security implications.
Access and Sharing Preferences
The NAS is equipped with various applications and settings that contribute to continuous monitoring and system backups. Engaging these built-in tools ensures that your stored data is under vigilant protection, and any system updates are applied as necessary. Foregoing features that facilitate file sharing from anywhere will provide an additional layer of security if the primary function of your NAS is data archiving, rather than active file distribution.
Storage Configuration
Configuring the storage pool and volumes dictates how your NAS utilizes the hard drives to store and secure data. Electing a RAID configuration, such as Synology Hybrid Raid (SHR), offers a balance between storage efficiency and data protection—ensuring your archives are fortified against drive failure. When you establish your storage pool, you can tailor it towards achieving maximum functional capacity or enhancing redundancy for added security.
Data Encryption Decision
Data encryption is a consideration when configuring storage. Weigh the balance between heightened security and potential risks associated with key management. In some cases, encryption adds a necessary barrier against unauthorized data retrieval, but losing the encryption key could render the data inaccessible. Unless working with highly sensitive content, it might be more prudent to forgo encryption and focus on a robust network and physical security setup.
Archive Organization
For data organization, create a logical folder structure that reflects your workflow. This will make retrieval easier and more efficient. Regularly back up the data on the NAS to an external drive or cloud service, and consider redundancy features such as RAID to prevent data loss.
Lastly, keep your NAS system’s software updated to protect against vulnerabilities, and ensure you have a good understanding of its features to take full advantage of its capabilities. With these steps, professionals can ensure their archives are well-organized, secure, and protected, harnessing the full potential of their NAS system for seamless storage management.